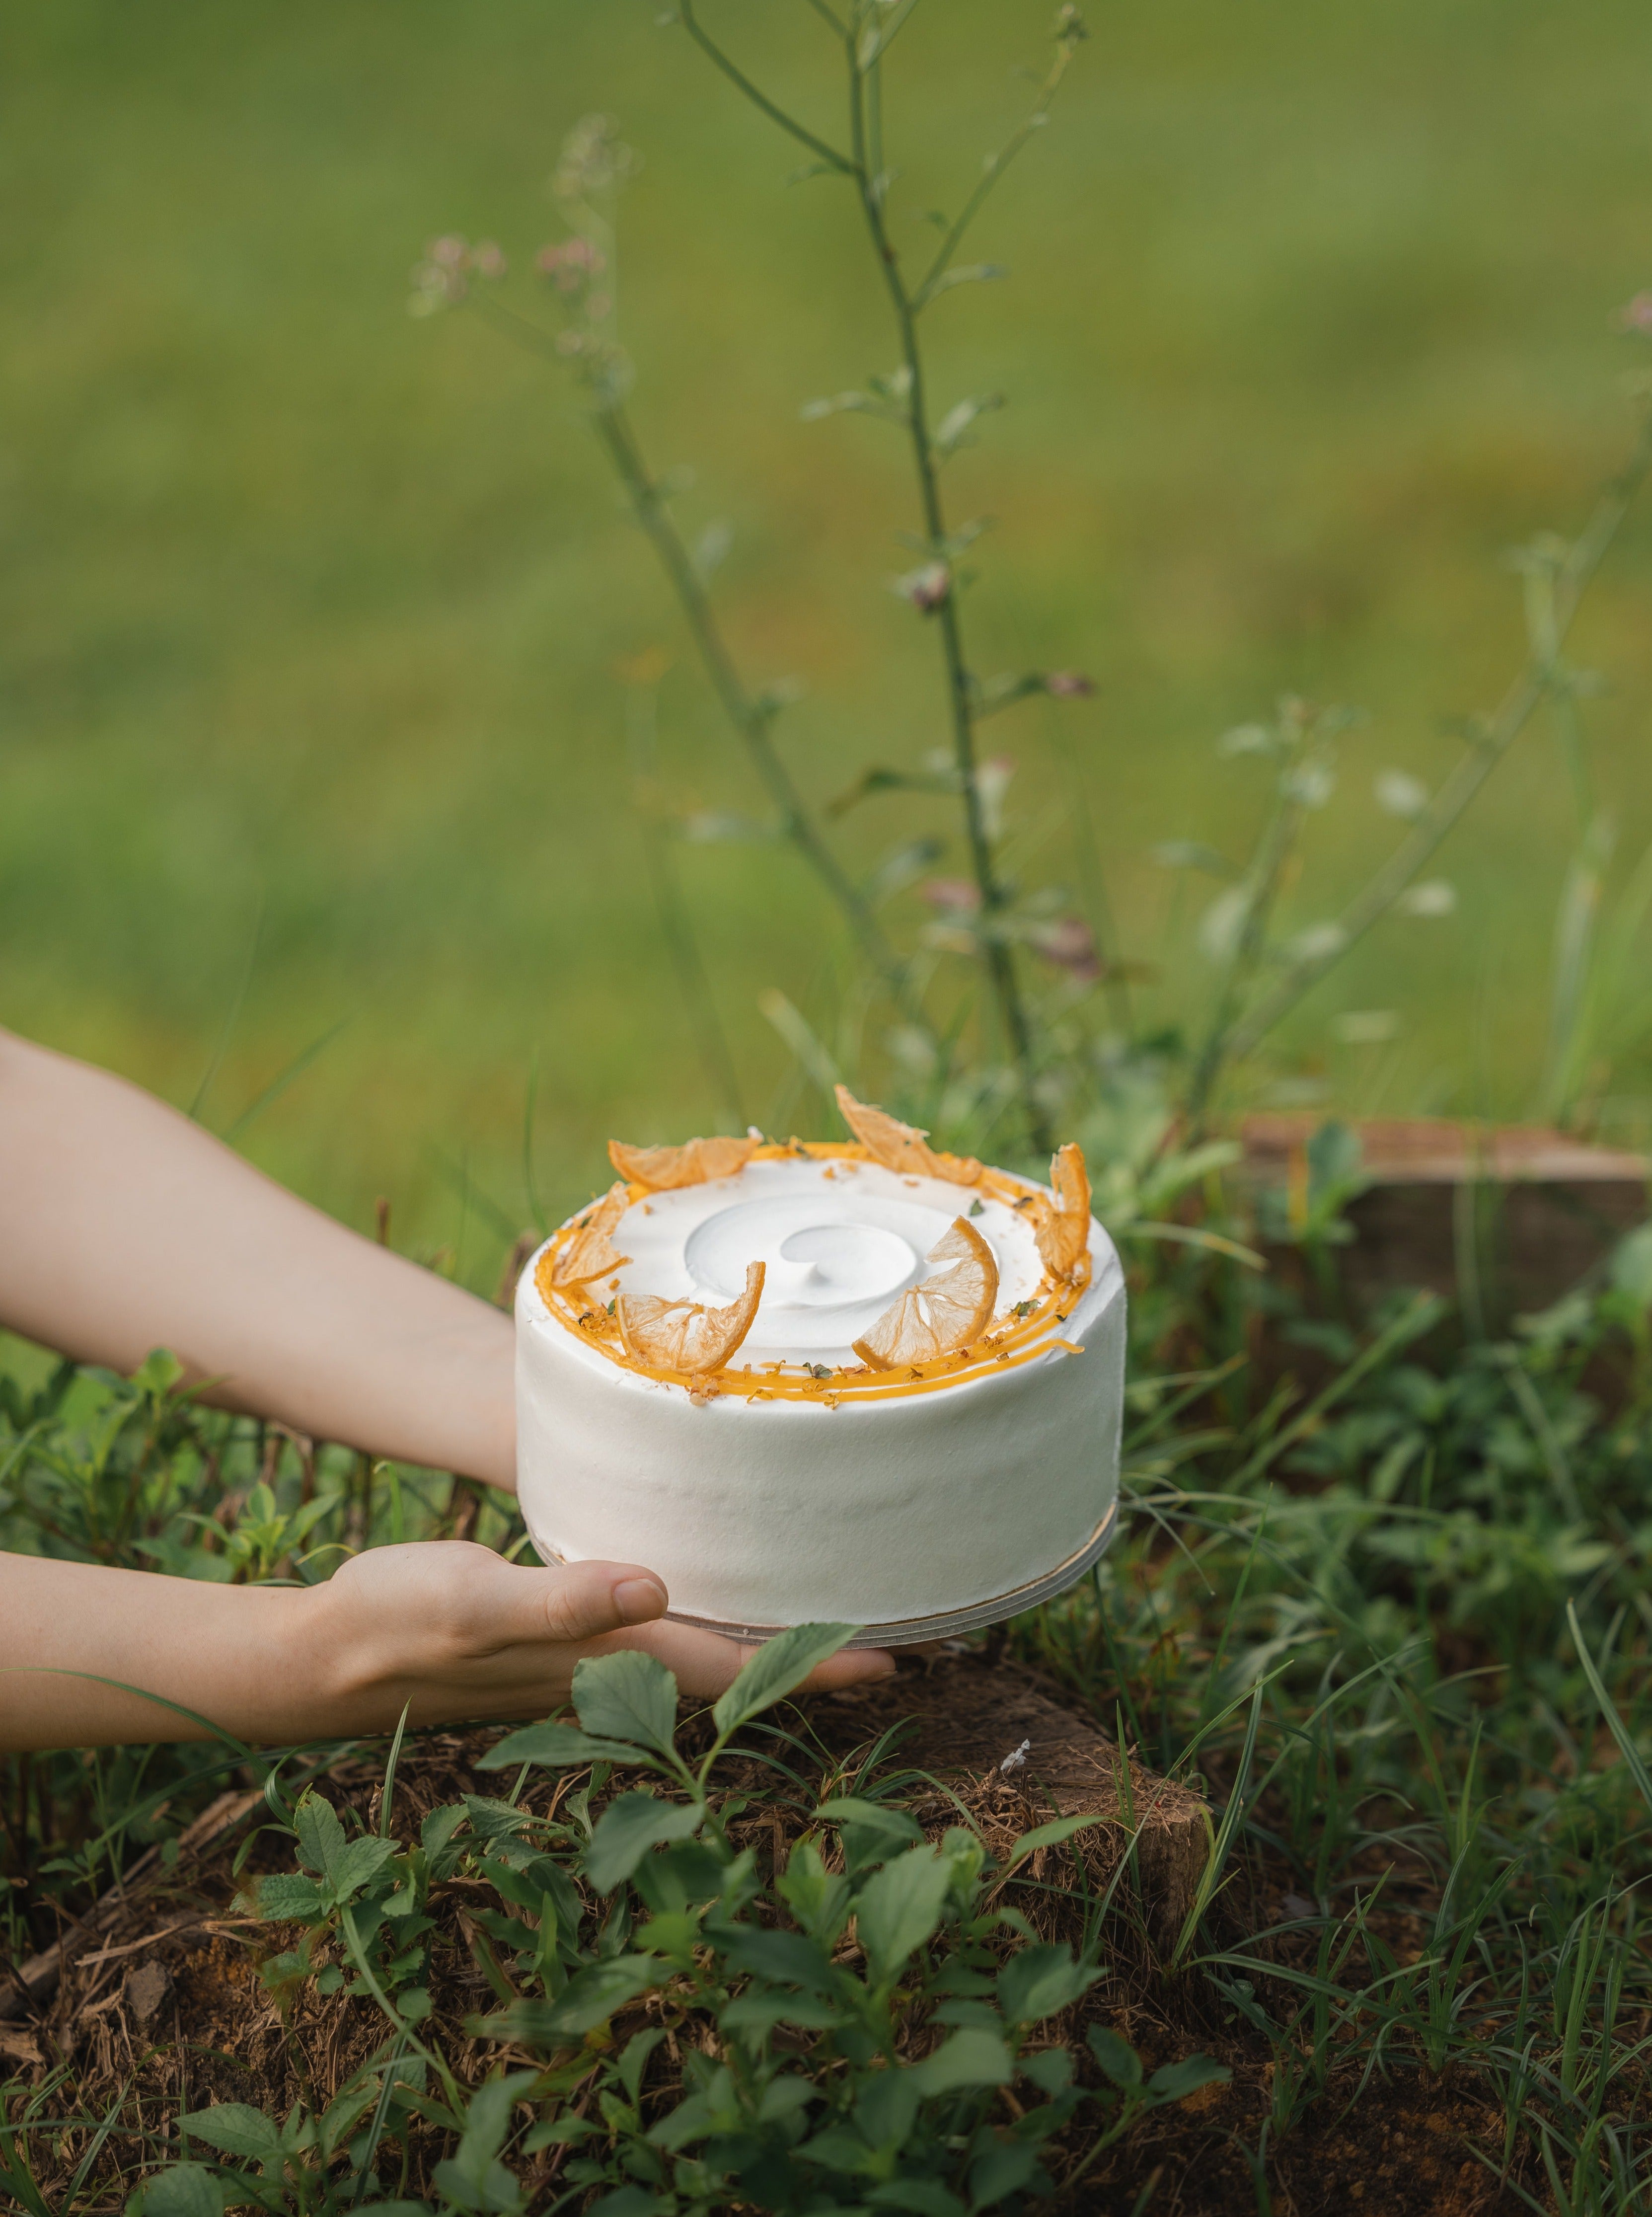
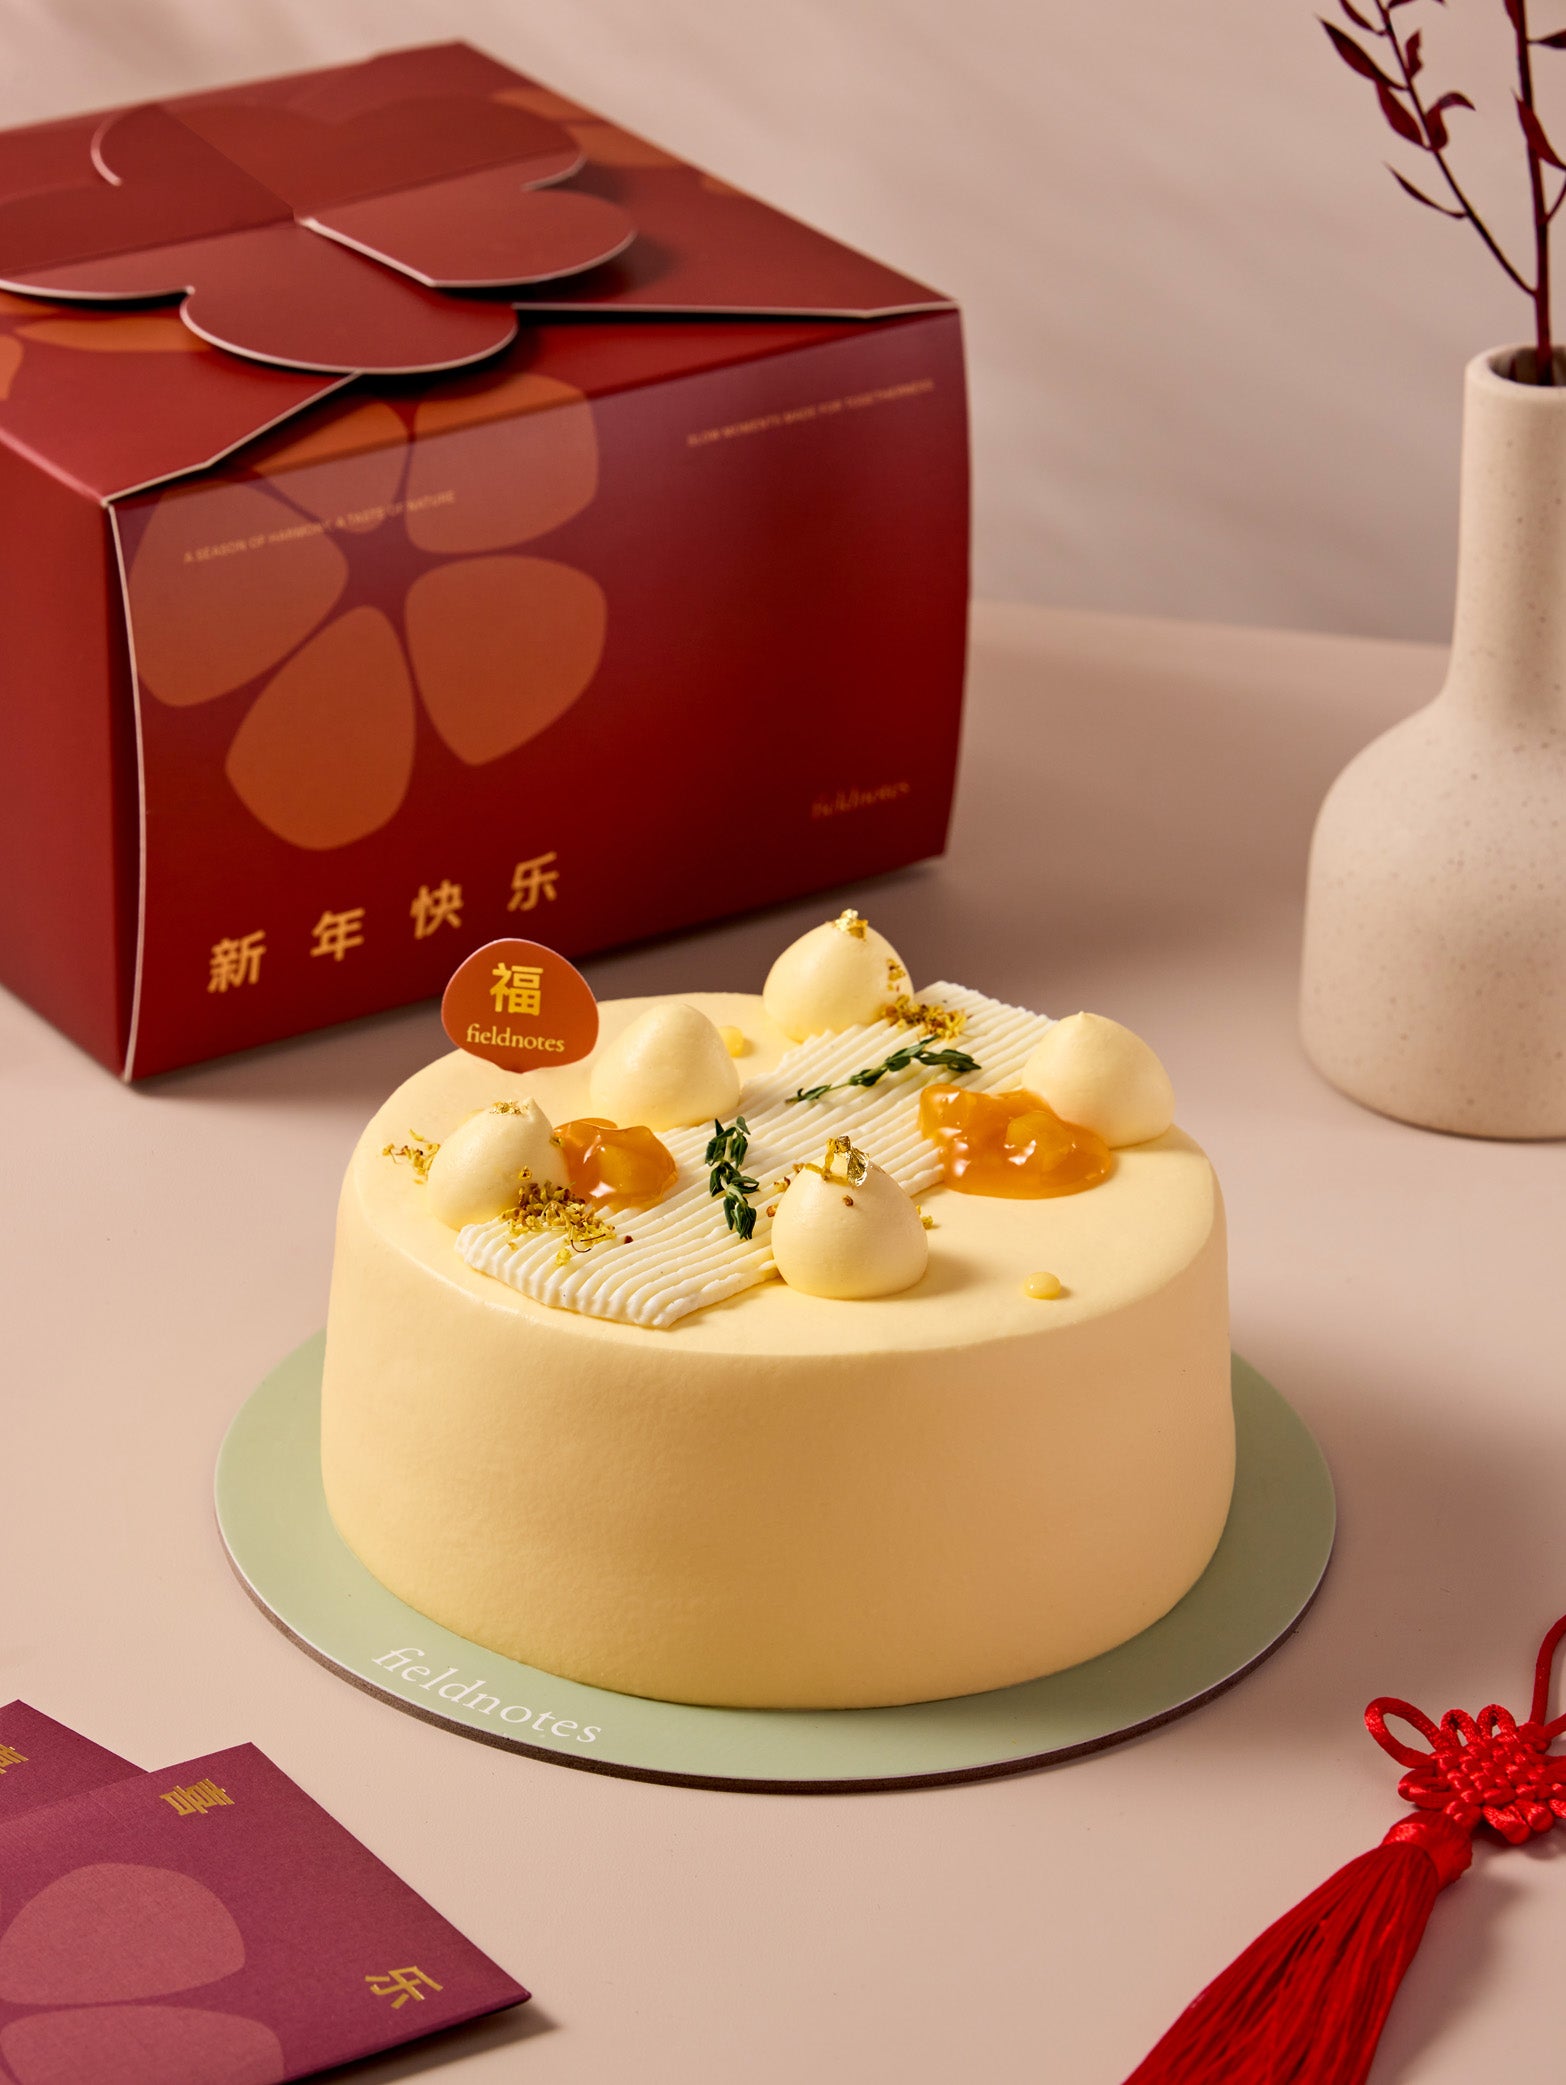
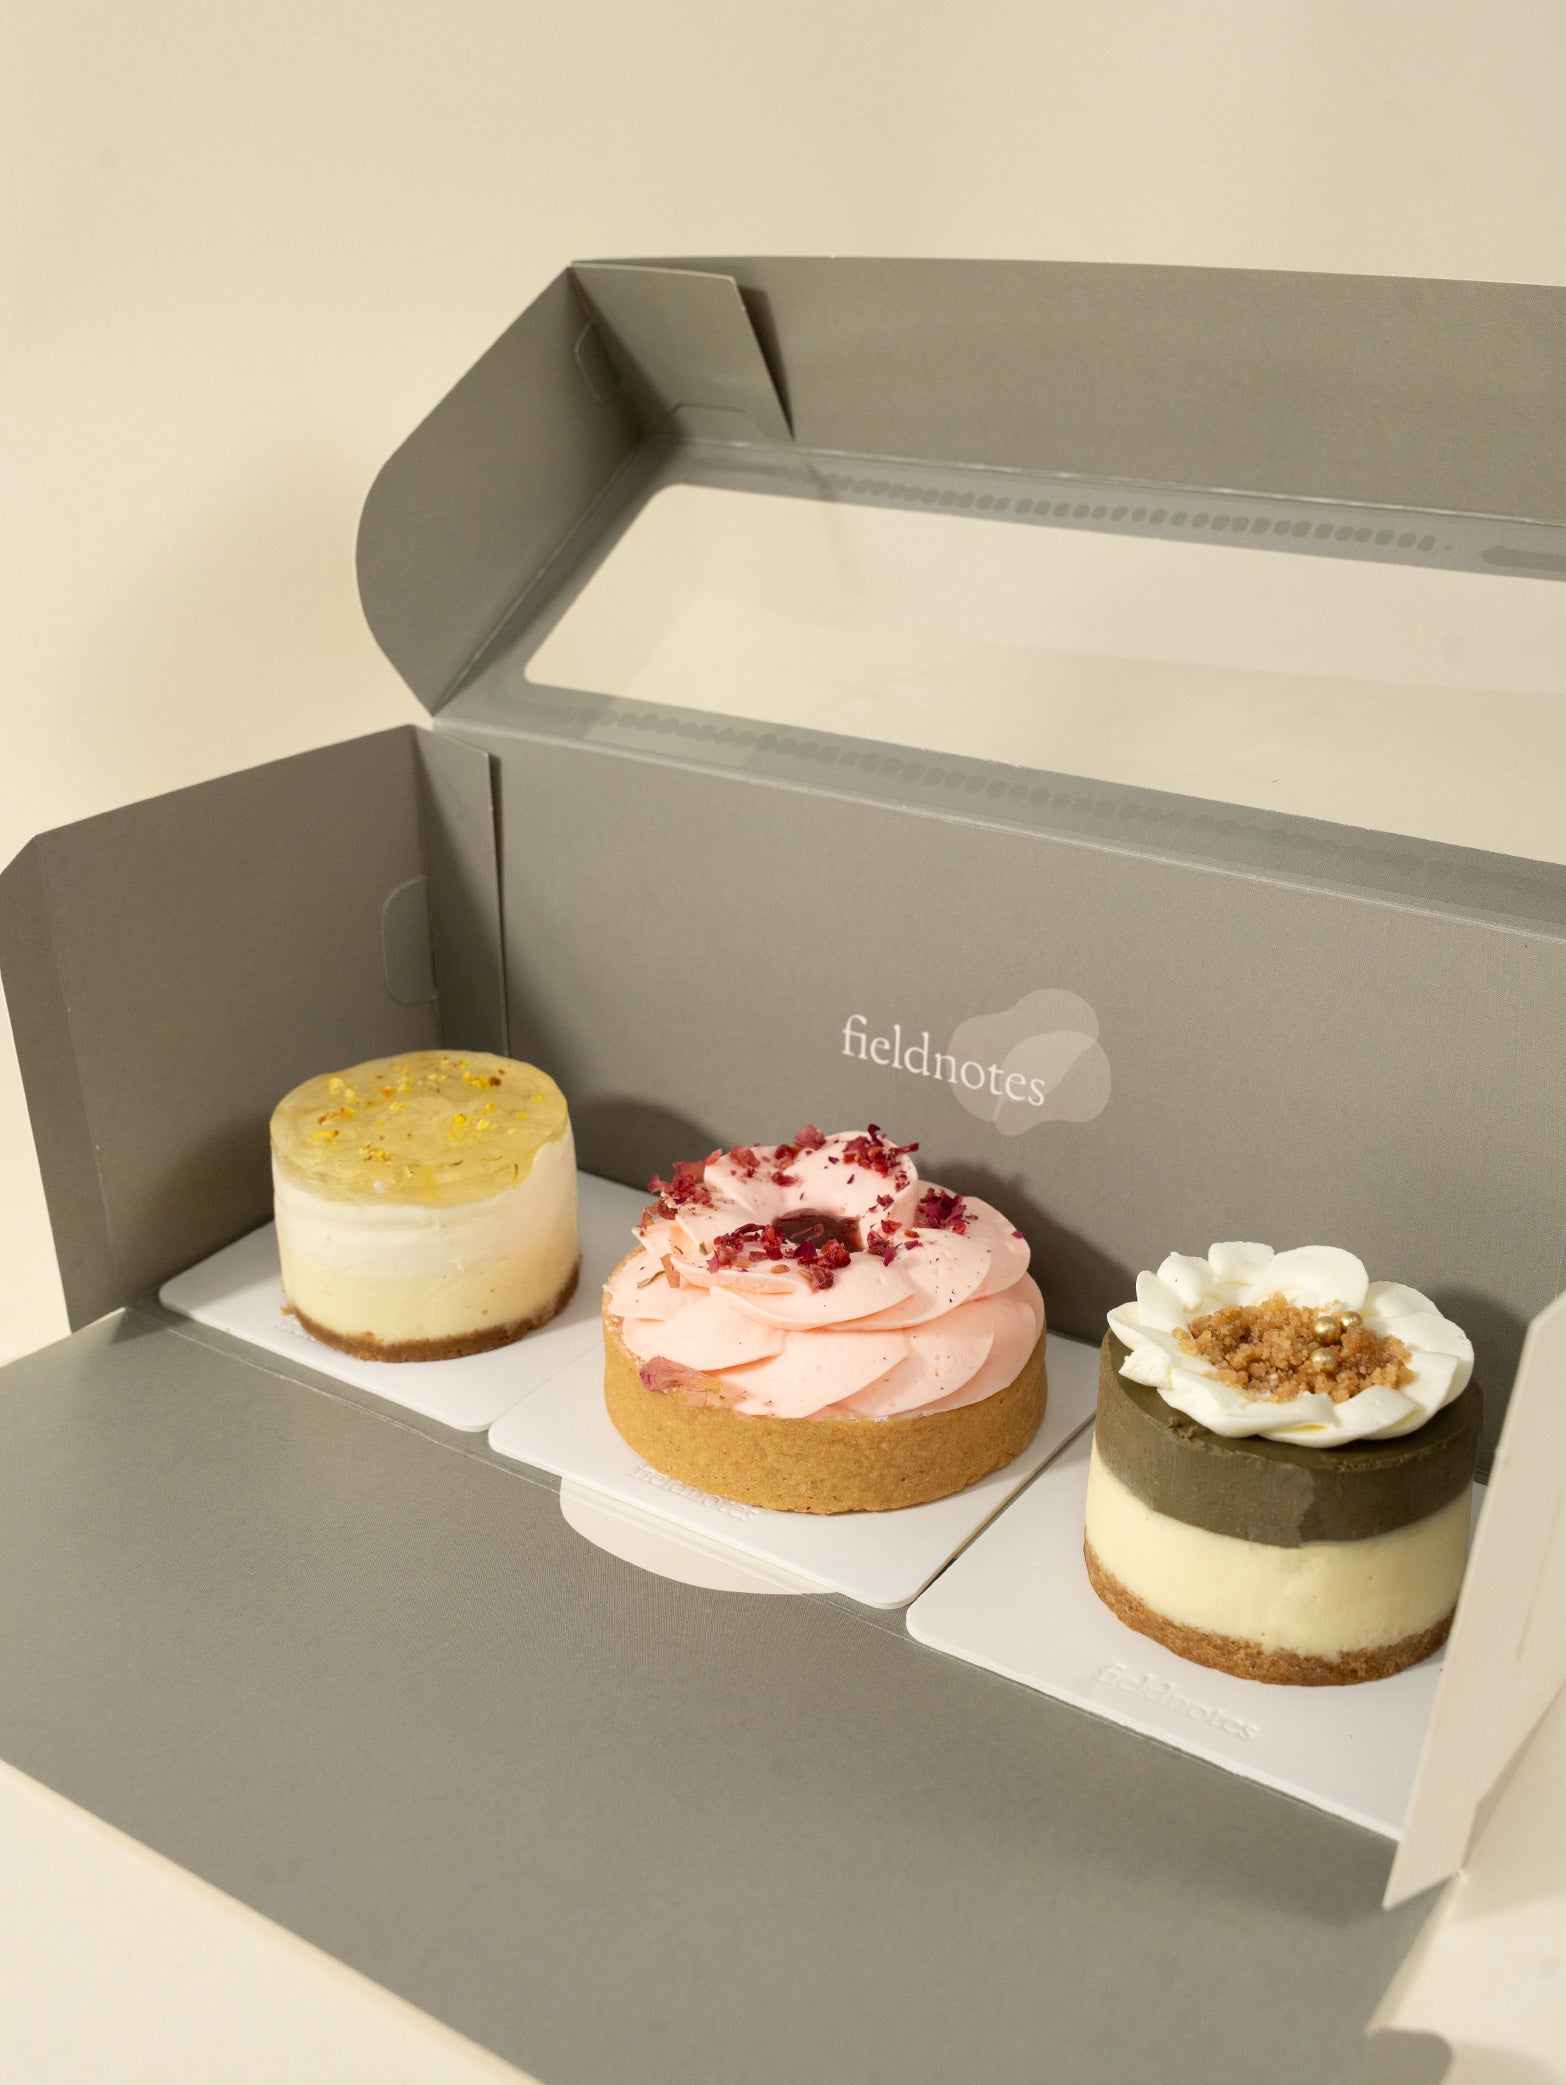
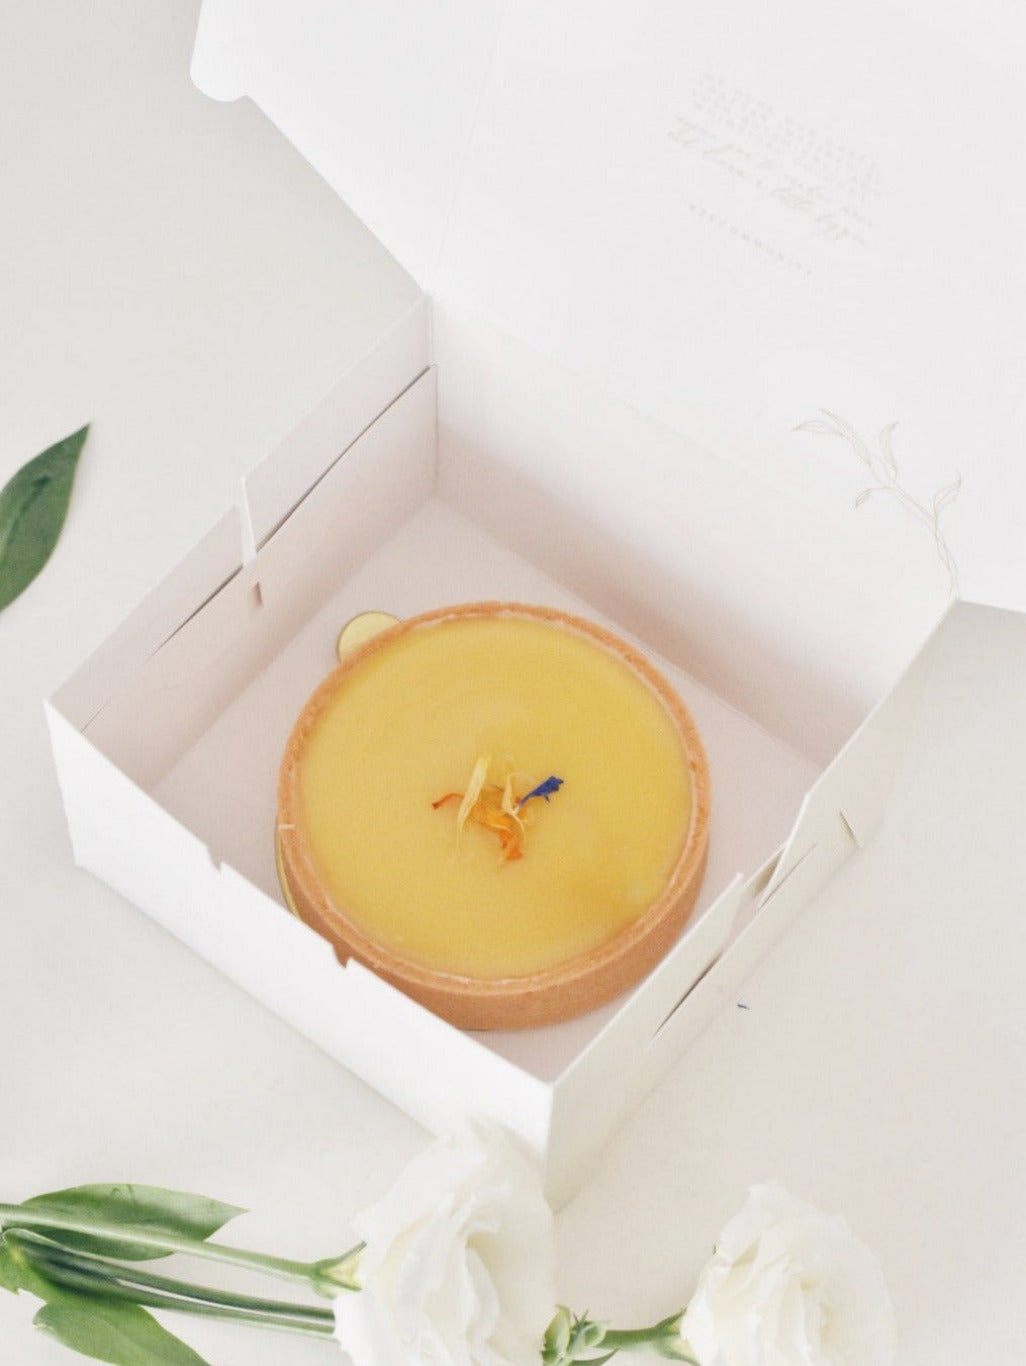
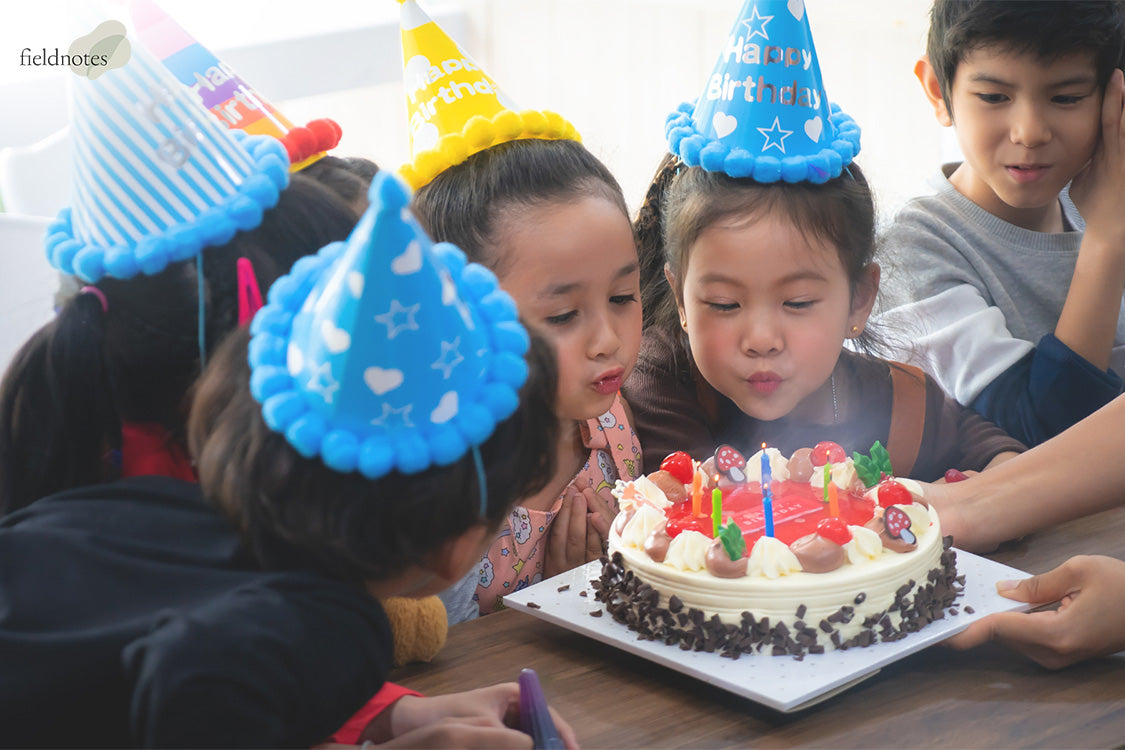
What’s a birthday party without cake, right? To enhance the celebration and surprise your loved one, you might even consider baking a birthday cake to demonstrate your thoughtfulness. Fortunately, a homemade cake is not rocket science! By following our essential tips and tricks, you can wipe up a delightful, visually appealing, and delicious birthday cake in no time flat.
PART 2 – THE ULTIMATE GUIDE TO BAKING A BIRTHDAY CAKE
2.1. Essential Steps & Tips For Baking Success

Of course, everything begins with the recipe. However, this prep work can seem intimidating, given the numerous cake recipes online. Fret not! Don’t let this smorgasbord of information overwhelm you. Just stick to the essential steps below to ensure your cake emerges from the oven light, fluffy, and delicious every time.
Step-By-Step Guide To Baking The Perfect Birthday Cake
Step 1: Prep The Cake Pan
Start by preparing your baking pans. If you plan on making a layered cake, that means greasing and lining round cake pans. To do this, use baking spray, butter, or shortening to coat the inside of the pan before adding a round parchment paper to the bottom and giving that a quick coat of cooking spray. That prevents the cake from sticking to the pan once it is baked. We recommend doing this even for non-stick pans.
Step 2: Cream The Ingredients
Moving on to the cake batter, pull out a stand mixer, add sugar and room-temperature butter to the bowl, and cream the ingredients until the batter is light and fluffy. That will give the cake height and a tender crumb. This process should take about 4 to 5 minutes. Avoid overmixing the batter, as it can cause the cake to collapse in the oven and turn dense.
Afterwards, add the eggs in one at a time and continue beating until they are well combined. If the recipe calls for extracts, now is the time to add them. Avoid rushing the process at this stage to allow your batter to achieve the perfect airy consistency later. Pro tip: use room-temperature ingredients so that they blend together more easily.
Step 3: Combine The Dry Ingredients
Generally, a recipe will instruct you to sift the dry ingredients together before combining them with the wet. That will typically include baking soda, baking powder, cake flour, salt, and sometimes cocoa powder or baking spices.
Doing so helps aerate the ingredients and distribute them evenly within the batter, thus preventing clumping, which can lead to dry pockets in your cake. Also, specific flours, like cake or pastry flour, are naturally “lumpy”. So, sifting it will ensure a better texture. If you don’t have a sifter, slowly whisk the ingredients instead.
Step 4: Alternate Between Dry And Wet Ingredients
Now, it is time to add your dry ingredients to your creamed mix. Remember to alternate adding the dry mix with any remaining wet ingredients until you achieve a smooth batter. Examples of wet ingredients include buttermilk, fruits, milk, sour cream, water, or yoghurt.
Step 5: Portion The Batter
Once your batter is done, add it to the pans you prepared earlier. For layered cakes, we recommend dividing the batter using a kitchen scale to ensure it is split between each pan equally. That makes it easier to bake the cake evenly.
Step 6: Bake And Cool The Cake
After dividing your batter evenly into individual pans, pop them into the oven and set the temperature and timer according to what is stated in the recipe. When the time is up, take them out of the oven to check if the cake is done.
One way to do this is by tapping the top of the cake. If it springs back when tapped, it is fully baked. If not, it needs more time in the oven. Another method is to insert a toothpick into the cake. It should come away with a few moist crumbs or none at all once the cake is ready.
Once you are satisfied with the results, remove the pans from the oven and set them down to cool on a wire rack for about 10 minutes. Subsequently, invert each pan and lift it away from the cake. Remove the parchment paper and let the cake cool completely before frosting.
Additional Baking Tips To Keep In Mind

Beyond the aforementioned steps, you may also want to keep the following baking tips in mind. This helpful information can help ensure you bake the perfect birthday cake to surprise your loved one.
Tip #1: Follow The Recipe
While this may sound obvious, some of us have been guilty of substituting ingredients in recipes based on what we have. For instance, using a different flour than what was stated in the recipe or replacing baking soda with powder. We get it! Sometimes, you can be in a rush, or you may not think a trip to the nearby supermarket is worth it for a single ingredient.
However, we don’t recommend doing this unless the recipe provides an alternative. After all, these ingredients are needed for a reason. More often than not, ignoring the recipe can lead to a cake disaster. So, don’t sabotage your time and effort. The best option is to follow a recipe the first time you try it before making changes as you see fit.
Tip #2: Take Note Of Whether The Recipe Calls For Room-Temperature Ingredients
There is a legitimate reason why some recipes call for room-temperature ingredients, and it is not for fun. Using room-temperature ingredients ensures they bond easier and quicker, as they are warmer, thus preventing over-mixing. Simply put, cold ingredients do not emulsify together, period.
Tip #3: Measure Every Ingredient Correctly
Sometimes, the difference between a baking success or failure could lie within a single mis-measured ingredient. For instance, flour is the most common mis-measured ingredient. Many bakers make the mistake of scooping the flour out of the container directly with their measuring cups. As a result, too much flour is used, leading to a dry, crumbly cake.
To measure flour correctly, we recommend using the “spoon and level” method. Use a spoon to scoop the flour into your measuring cup, then utilise the back of a knife to level off the top of the measuring cup. Avoid packing the flour down or tapping the cup, as either action can cause the flour to settle in the cup.
Tip #4: Pay Attention To The Flour Used
The flour you use during baking can significantly impact the texture of your cake. While all-purpose flour is adequate, it cannot compare to cake flour. That is because the latter is a low-protein flour that has been finely milled into a delicate consistency. This soft, tender texture can translate directly into the finished product.
However, it is also vital to note that fine cake flour is ill-suited for some recipes. For example, combining cocoa powder, a fine and dry ingredient, and cake flour can result in a flimsy chocolate cake. It is also not ideal for cakes that contain additional wet ingredients, like fruits.
Tip #5: Don’t Over- Or Under-Mix The Batter
Whether you are utilising an electric mixer or simply using a whisk, ensure you mix the batter, and we cannot emphasise this enough, just until the ingredients are combined. So, don’t just turn on the mixer and leave the room, as overmixing can cause your cake to be tough and chewy. That is not what you want for your loved one’s birthday cake, right?
Likewise, avoid under-mixing the batter, thus under-developing the gluten, as it can cause structural problems. Not only will your cake crumble easily. It will have a dense layer of unrisen batter atop the bottom crust. Besides, the point of mixing the batter is to ensure all of the ingredients are incorporated together. You can’t have that when it is under-mixed.
Tip #6: Don’t Open The Oven Until Time Is Up
As the cake is baking in the oven, you may be tempted to check on it several times to ensure you do not overbake the pastry. But do you know that doing so can let cold air into the oven, resulting in drastic temperature changes? That can cause a rising cake to sink. So, stick to the recommended baking time in the recipe, and if you must, check the cake once or twice for doneness.
If you are worried about the temperature affecting the cake quality, consider getting an oven thermometer. While inexpensive, it can be a lifesaver in a baker’s kitchen! That is because an oven’s temperature can often be inaccurate unless it is new or calibrated regularly. So, while your oven may be set to 175°C, it may not be accurate inside. Placing the thermometer inside can help you gauge the actual temperature you need.
Tip #7: Store The Cake Correctly
It is always good to get a headstart to avoid rushing. But if you are planning to prepare the birthday cake ahead of time (usually one day ahead is ideal), let it cool before covering it tightly and storing it at room temperature. Unless stated otherwise in the recipe, room-temperature cakes usually taste best.
In addition, fresh frosting just tastes better! As such, we recommend assembling and frosting the cake on the actual day of serving. However, if you must frost the cake beforehand, store it in the refrigerator to prevent the frosting from melting. Remember to take it out and set it on the counter to thaw before the party starts.
Learn More: Keeping It Fresh: How To Store Your Birthday Cake For Another Day
2.2. Navigating Cake Catastrophes For Novice Bakers

Cake-baking mistakes can happen to even the best bakers. So, don’t be disheartened if your first few attempts are unsuccessful. A giant hole in the middle of the cake? A dense, tough cake texture? We have all been there. However, if your cake often turns out less than perfect, it is time for some detective work. Understanding what went wrong can help you avoid making the same mistake again.
Dense Cakes: What Does This Mean?
If your cake is too dense, the likely explanation is that you have over-mixed your batter, causing all the air to deflate. Remember, once the dry ingredients are incorporated, ensure you only mix the batter together until no streaks of flour remain. Either that or your butter is not at room temperature. When butter is too cold or warm, it will not cream properly. As a result, the cake cannot hold its shape.
In addition, you could be using an incorrect ingredient during baking. For instance, while baking powder and soda do not expire, they can lose potency over time. As a result, they will not produce as much leavening action, causing the cake to be denser and heavier. The flour you use can also play a part. Compared to cake flour, all-purpose flour has a higher protein percentage, meaning more gluten forms during mixing. So, while the cake may rise beautifully in the oven, it may sink as soon as you pull it out.
The Cake Sinks In The Middle: What Does This Mean?
If your cake is sinking in the middle, the batter is undercooked – simple as that. That is why the toothpick test is vital. If it comes out wet after you insert it into the middle of the cake, keep baking it until the toothpick emerges with a few moist crumbs. Pro tip: pop the pan back into the oven and check for doneness in 5-minute increments. Cover the top with tin foil if you are worried about it browning too much.
Soggy Cakes: What Does This Mean?
There is a reason why recipes always recommend straining wet ingredients to draw moisture out before adding them to the batter, as moist produce, such as fruits and vegetables, can produce unwelcome water in the batter, causing the cake to become soggy.
Another possible explanation is that the cake has sat in the pan too long. Letting it cool in the pan for an extended period can cause additional steam and condensation to form. So, remember to remove the cake from the pan as soon as it is no longer hot to the touch.
Cracked Cakes: What Does This Mean?
If your cake is cracked, that means it did not bake evenly. Often, this is due to improper oven temperature or incorrect cake pan size. If the oven is too hot, the cake exterior will cook much quicker than the inside, resulting in a cracked, overly browned top and sides. This same issue can occur if your cake pan is too small, as having excess batter within a compact space will cause it to bake unevenly.
However, excess heat is not the only thing you need to worry about regarding the oven temperature. Uniform temperature is also essential to achieving an evenly baked cake. So, avoid opening your oven door too often, as it can significantly alter the interior temperature of the oven. There is nothing a cake likes less than extreme temperature changes. Pro tip: a handy way to patch the cracks is to cover them with frosting, whipped cream, or fresh fruits.
Cakes Sticking To The Pan: What Does This Mean?
There are several suspects to consider if your cake is sticking to the pan. The immediate culprit will be your pan – one possible reason is that the surface is not greased sufficiently. So, be generous with the butter or shortening. Another option is to line the bottom with waxed paper. This way, your cake will slide out of the pan, and you only have to peel off the waxed paper.
Also, avoid letting your cake sit in the pan for too long. Around 10 minutes is sufficient for the cake to cool off before removing it. Any longer than 10 minutes, your cake will become damp and stick to the pan.
2.3. Decorating Your Birthday Cake Like A Pro

Once you have a nice birthday cake and are happy with the results, it is time to start decorating before the big occasion. Whether you have done it before or not, you don’t have to be an expert to get it right, as long as you keep our helpful tips in mind.
However, first things first, you need the proper tools for the job:
- Rotating cake turntable
- Serrated cake or bread knife
- Offset palette knife
Do you have them ready? Great! Let us begin then.
Tip #1: Freeze Your Cake
As baking and decorating a birthday cake can take a bit of work, it is a good idea to split the job into different stages. You can bake the cake the day before the party, then take it out and decorate it on the actual day.
If you are worried about getting crumbs on the frosting, consider freezing the cake beforehand. Frozen cakes don’t crumble as much, making it easier to apply your crumb coat. Likewise, you will find it much simpler to level a frozen cake. Remember, your cake will only stay fresh in the freezer for up to a week. So, avoid baking it too early.
Tip #2: Use A Cake Turntable
There is a reason why we recommend preparing a cake turntable ahead of time. This nifty tool is an absolute lifesaver. With it, you can eliminate the hassle of constantly adjusting your positioning as you level and frost the cake.
Tip #3: Level Your Cake
If your cake has multiple layers, the top of each layer must be completely flat. Otherwise, they will lean or wobble when you stack them. That is where your serrated knife comes in handy. Ideally, the blade of the knife should be longer than the diameter of the cake. You will want to remove the dome-like top on your cake until it is perfectly flat.
Position the blade at the edge and keep it level as you rotate the cake on the turntable. Avoid pushing the knife through the cake. Instead, you should be using a sawing motion. Don’t worry about the bottom layer, as it should already be flat due to the bottom of the cake pan.
Tip #4: Apply A Crumb Coat
Before frosting your cake, you need to apply a crumb coat, the first thin layer of icing on a cake. This coating helps hold in any stray cake crumbs, ensuring a perfectly smooth, crumb-free outer layer of frosting.
For those making a layer cake, you will want to position the bottom layer on the turntable and spread a layer of frosting before placing the second layer on top (bottom side up). Now, apply the crumb coat to the whole cake and let it chill in the fridge for 15 to 30 minutes to allow the crumb coat to fully set before applying the final coat of frosting.
Tip #5: Apply The Frosting
After taking the cake out of the fridge, place it on the turntable and begin applying a mound of frosting to the top, spreading it around with a palette knife as you rotate the cake. Once that is done, you can proceed to the sides. You will want to be quick so that everything stays cool. But if this is not possible, consider taking a break between frosting the top and the sides by returning the cake to the fridge in the meantime.
PART 3 – CONCLUSION
With a bit of practice and determination, we are confident that you will be able to bake the perfect birthday cake to celebrate your loved one’s birthday in no time flat. They will undoubtedly be touched by this warm gesture.
However, if you have yet to grasp the art of cake baking, fret not! Why not opt for convenience and choose from a selection of artisan cakes from our various cake shops in Singapore or order our cakes online? We offer birthday cake delivery services islandwide. Visit our website to browse our comprehensive catalogue today.

