


PART 1 – INTRODUCTION
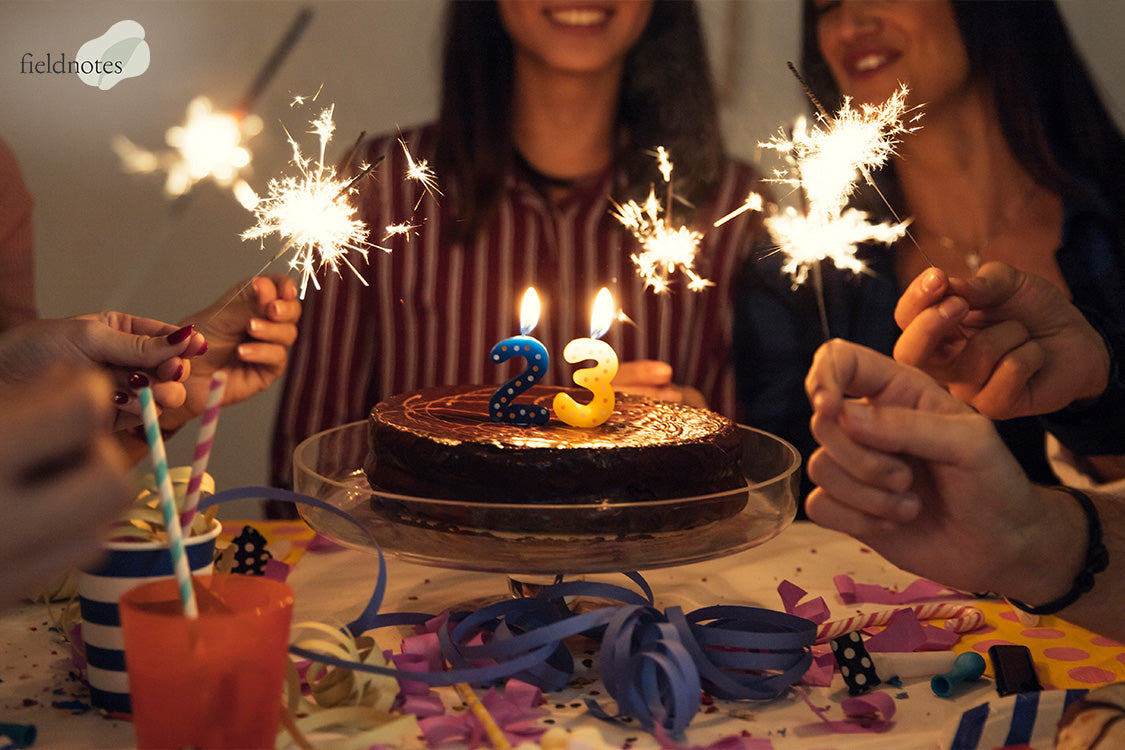
When it comes to celebrating an occasion, there is one essential thing you should never leave out. That’s right! We are talking about the cake. However, nobody wants a dry, crumbly cake. Instead, you will want something light, fluffy, and most importantly, moist to serve as the perfect coda for your celebration.
Contrary to what you might think, making a perfectly moist cake is not as challenging as it seems. So, if you are looking to bake a cake to commemorate a special occasion, like a birthday or a baby shower, you are in the right place! Let our baker share the secrets to baking a perfectly moist cake every time.
PART 2 – THE SECRETS TO BAKING PERFECTLY MOIST CAKES
2.1. The Ingredients For Your Perfectly Moist Cake

To bake a perfectly moist cake, we must first begin with the necessary ingredients. Besides the basic ingredients for baking a cake, such as flour, sugar, salt, and baking soda, let us emphasise the crucial components that can make or break this journey towards cake perfection – oil, buttermilk (or alternatives like sour cream or yoghurt), and egg yolks.
Ingredient #1: Oil
At the heart of every moist cake lies the choice of fat. While butter is a classic option, many pastry chefs agree that oil-enriched cakes tend to produce better results. Unlike butter, oil is 100% fat, and its liquid form ensures a more consistent distribution throughout the batter, contributing to a smoother, softer crumb. Vegetable oil, canola oil, and extra-virgin olive oil all work well. So, feel free to experiment and find the perfect match for your desired cake.
Ingredient #2: Buttermilk, sour cream, or yoghurt
Likewise, tangy dairy products, like buttermilk, sour cream, or yoghurt, produce an undeniably tender crumb. Additionally, the acidity in these ingredients causes a fascinating chemical reaction with baking soda, creating carbon dioxide bubbles that expand during baking, resulting in a lighter, fluffier cake.
We recommend a trip to the supermarket if you don’t have any of these dairy products readily available at home. Alternatively, you can recreate one by squeezing fresh lemon juice into milk, thereby souring it. If the instructions don’t call for any acidic dairy products, you can substitute part of the regular milk called for in the recipe with one.
Ingredient #3: Egg yolks
In addition to whatever eggs are listed in your recipe, we recommend adding a few more egg yolks to enrich the batter further. The emulsifiers found in egg yolks are the secret weapon for elevating your cake from good to exceptional, as they help blend the fat-based and water-based ingredients in the batter, ensuring a harmonious and more consistent texture.
2.2. Baking Tips To Keep Your Cake Moist
After gathering the necessary ingredients, you are undoubtedly eager to begin. However, before we get started, it is vital to understand that various factors can contribute to dry cake, from the batter itself to any misstep occurring during or after the baking process. So, to achieve good results at home, consider keeping our tips in mind from start to finish.
Learn More: 3 Common Challenges When Baking a Cake
Tip #1: Always use the precise amount of flour

Any pastry, especially cake, will become dry, hard, and crumbly when too much flour is added. So, always use the precise amount of flour called for in the recipe. We recommend weighing your flour with a digital scale or fluffing the flour bin to loosen it before gently spooning and levelling it into your measuring cup. Doing so will prevent you from accidentally adding too much flour to the batter.
Tip #2: Sift your ingredients for a more delicate texture

Always sift your dry ingredients in a large bowl before mixing in the liquids. This action will help break up any lumps or clumps that may form in dry ingredients, such as flour or baking soda, resulting in a smoother and more uniform texture in the final batter. It also leads to better aeration as air entering the mixture can help it rise and become fluffy, resulting in a more delicate and tender cake.
Tip #3: Avoid overmixing the batter

We recommend following the recipe to a tee when baking a cake. That is especially pivotal when it comes to mixing the batter. A good cake recipe will detail how long you should mix the batter to avoid producing too much gluten, which can result in a tough, dense, and crumbly cake. An excellent rule of thumb is to mix a batter just until you incorporate the dry ingredients and no further.
Tip #4: Maintain the correct baking temperature

The standard temperature for baking a cake is usually around 180 degrees Celsius (or 350 degrees Fahrenheit), and the time should range from 30 to 40 minutes. However, please note that the temperature and timing may fluctuate depending on whether you are making cupcakes, a sheet cake, or cake layers in individual pans. When in doubt, always refer back to your recipe.
Baking at a temperature much higher than this runs the risk of drying out your meticulously-crafted cake. Therefore, it is advisable to utilise a separate oven thermometer to ensure you bake it at the correct temperature. This handy tool will also let you know if you need to adjust your oven dials accordingly during the baking process to achieve the ideal result.
Tip #5: Soak the cake and add moisture between the layers

One handy method pastry chefs utilise to keep their cakes moist once they’re out of the oven is to soak them in a simple syrup made of equal parts granulated sugar and water. Alternatively, you can use coconut milk, evaporated milk, or flavoured liqueur to moisten the cake while adding sweetness to it. Apply the liquid with a pastry brush to ensure even distribution across the top and sides of the cake.
2.3. Oven Tips For Baking Your Perfectly Moist Cake

Baking a perfectly moist cake is not just about getting the step-by-step process correct. Your oven also plays a pivotal role. So, keep these oven tips in mind when baking your cake.
Tip #1: Remember to preheat the oven
Always remember to preheat your oven beforehand. The rule of thumb is to preheat your oven to the designated temperature for 20 to 30 minutes before popping your cake in. Doing so will ensure your oven reaches the desired temperature when the batter enters, kickstarting the leavening process and creating a stable structure for the cake.
Tip #2: Position the cake pan in the centre of the oven
Unless specified otherwise, always place the cake pan in the centre of the oven to ensure even heat distribution from all sides, allowing the batter to rise uniformly and maintain a tender, moist crumb. Placing it too close to the oven wall or too high can lead to uneven baking or browning, resulting in a less-than-ideal texture.
Tip #3: Avoid overbaking the cake
Baking times can vary depending on the size of the cake. So, beyond following the recipe closely, it is essential to keep a watchful eye on the oven as the cake bakes. When the recommended baking time nears, you can rely on the tried-and-true toothpick test to check if your cake is ready.
This test is simple. Insert a toothpick into the centre of your cake; if it comes out clean with no wet batter sticking to it, it is ready. Remember that residual heat will continue to cook the cake even after it is taken out of the oven. So, removing it promptly is crucial, or you risk robbing your cake of its moisture, leading to a tough and crumbly texture.
Tip #4: Grease the pan and line it with parchment
While this does not necessarily apply to your oven configuration, we recommend greasing your cake pan and lining it with parchment paper that is lightly floured beforehand. This handy tip can ensure your cake slides out cleanly after cooling. For round cake pans, you only need to line the bottom. Meanwhile, let the parchment come up over two sides to help lift the cake out of the tray if you are using a rectangular or square baking sheet.
PART 3 – COOLING AND STORING YOUR CAKE AFTER BAKING
3.1. How To Cool Your Cake After Baking

Voila! After meticulously preparing and baking your perfectly moist cake, it is now ready to leave the oven. While we can understand your eagerness to start decorating your hand-made, custom cake and personalise it to your heart’s content, there is still one step standing in the way – cooling it!
Waiting for the cake to cool will make it much easier to handle. That is because when a cake is still hot, it is extremely fragile and delicate, making it more challenging to decorate. In fact, handling the cake too soon after could cause breakage and crumbs.
Moreover, waiting for the cake to cool is especially vital if you plan on frosting it. If you try to ice a cake fresh out of the oven, the icing will melt from the heat. So, cool your cake first to avoid a runny, melted mess! Fortunately, there are a couple of ways to cool a cake, whether you are in a rush or want to take things nice and slow.
How to cool a cake quickly (fast method)
After removing your cake from the oven, place it on a counter and allow it to cool on the baking tray for around 15 minutes. Subsequently, move the cake, while it is still in the pan, into the freezer for another 15 minutes. Now, it should be cool enough to handle. You can place a layer of saran wrap over the top of the cake and put it back in the freezer.
Conversely, you can remove the cake from the pan and wrap it in saran wrap before placing it in the freezer. Sealing the entire cake in saran wrap will help retain moisture, preventing it from drying out.
However, we advise caution when using this method to cool cheesecakes, as they must come to room temperature gradually; any rapid temperature changes can cause cracks to surface.
How to cool a cake on a cooling rack (slow method)
Remove the cake from the oven and situate the pan on the cooling rack for 15 minutes. Afterwards, loosen the sides of the cake from the baking sheet with a butter knife or flat spatula before turning it out and placing it directly onto the cooling rack until it is cooled completely. Doing so will allow the air to touch every side of the cake.
Additional tips for success
Meanwhile, here are some additional cooling tips to keep in mind:
- Allow your warm cake to sit in the pan for at least 10 minutes after it is taken out of the oven. This rule applies as the first step to any cake-cooling method.
- Avoid cutting the cake too early, and do not expose it to drastic temperature changes too quickly. Being too hasty will cause the cake to crumble or get stuck in the baking sheet.
- If you are baking a cheesecake or a creamy cake of any kind, always turn off the oven and let it sit for approximately an hour to allow temperatures to drop gradually.
- Let the cake cool completely and trim the top before frosting with an offset spatula if you plan on eating it soon – for example, the very same day.
- Otherwise, transfer the cake to a cake board immediately after cooling and trim its top so that you can frost it evenly later.
3.2. How To Store Your Moist Cake Correctly

Whether it's a moist, tender birthday cake for a celebration or a velvety-texture chiffon cake for a potluck, you would have put a lot of time and effort into baking it. So, don’t let all your hard work go to waste by allowing the cake to dry out, especially if you don’t plan on eating it anytime soon.
A baked cake, even a frosted one, can dry out quickly when left out at room temperature without any covering. The best way to store your cake is to cover it in plastic wrap and place it in a cool, dry place away from direct sunlight. Doing so helps seal moisture and prevent air from drying out the cake. Follow our instructions below on how to correctly store a cake, whether it’s frosted or not.
How to store unfrosted cakes
Wrapping a warm cake can lead to messy condensation. Therefore, we recommend waiting until it has completely cooled before applying the plastic wrap.
Step 1: Wrap each cake layer in plastic wrap
If you are baking a multi-tiered cake, you will have to wrap each unfrosted layer individually and tightly in plastic wrap. Ensure the top, sides, and bottom are secure. The same applies to a single-layer cake.
Step 2: Store the cake in a zip-top plastic bag
Once you are done, place the wrapped layers in a zip-top plastic bag and store the cake in a cool, dry place away from direct sunlight or the fridge.
How to store frosted cakes
Don’t worry about using plastic wrap for frosted cakes, as it would only mess up the icing. Besides, the frosting itself already functions as a barrier protecting the cake from air and moisture. Instead, use a cake keeper (or cake carrier) to cover the cake during storage. This will safeguard it from dust, dirt, and more. If you don’t have a cake keeper, fret not. A large overturned bowl will suffice in a pinch.
How to store sliced cake
Moisture will begin to escape as soon as you cut a cake. Eventually, it will start to grow stale. So, if you have leftover cake, here are two options for keeping the slices fresh:
- Cover the sliced edges with more frosting to prevent moisture loss (besides, who doesn’t love more frosting?).
- Firmly press a piece of plastic wrap directly onto the sliced sides. Afterwards, cover and store it in a cake keeper. A cut cake will only last for about three days at room temperature.
When should you refrigerate your cake?
Most cakes, whether frosted, unfrosted, sliced, or uncut, remain safe for consumption for a few days when correctly stored at room temperature. However, there will be occasions when you need to stow your cake in a fridge. Here are three scenarios that may require chilling:
- Cover and refrigerate your cake if the weather is too hot and humid,
- If the cake isn't being served for a few days, cover it and place it in a fridge.
- If your cake contains fresh fruit fillings or toppings or has a frosting made with whipped cream or mascarpone, cover and refrigerate it until you are ready to serve. If there are leftovers, place them in the fridge.
With that said, avoid storing your cake in the refrigerator, even if you have secured it tightly, for longer than a few days.
PART 4 – CONCLUSION
Baking a perfectly moist cake may come with its fair share of challenges. However, let us reassure you that it can be a delightful and rewarding experience! Just remember to keep what we shared in mind for your next baking session. With patience and effort, we are sure you can bake a perfectly moist cake that tastes as good as it looks.
If you have yet to master the art of cake baking or wish to avoid the hassle of baking a cake, we have just the solution for you – cake delivery! As one of the most popular cake shops in Singapore, we offer a comprehensive selection of delectable cakes, including sugar-free ones, for you to choose from. Visit our website today to order a cake online.